
How to install Ubuntu on VMware Workstation
1. Download Ubuntu ISO and VMware Workstation.
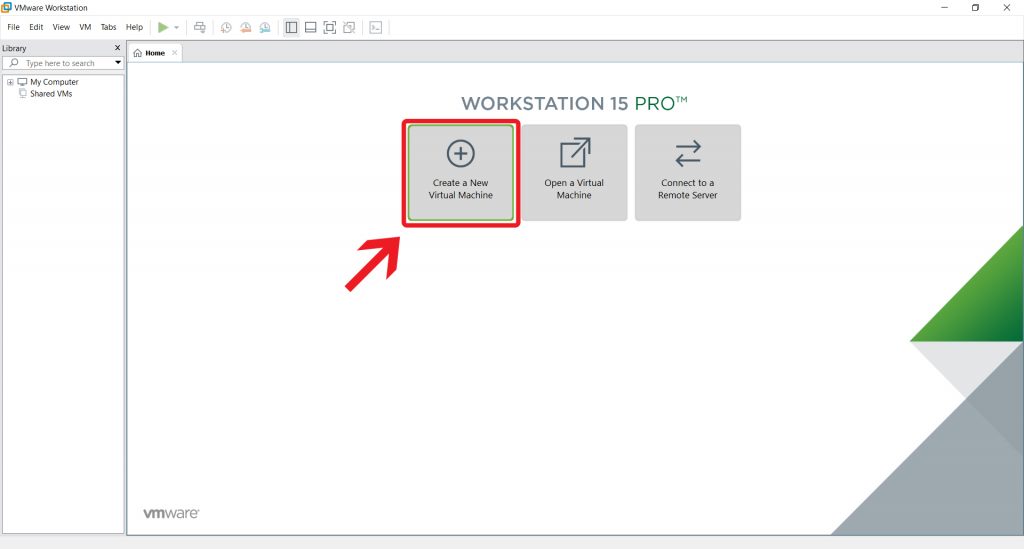
2. Open Vmware Workstation and click on Create a New Virtual Machine
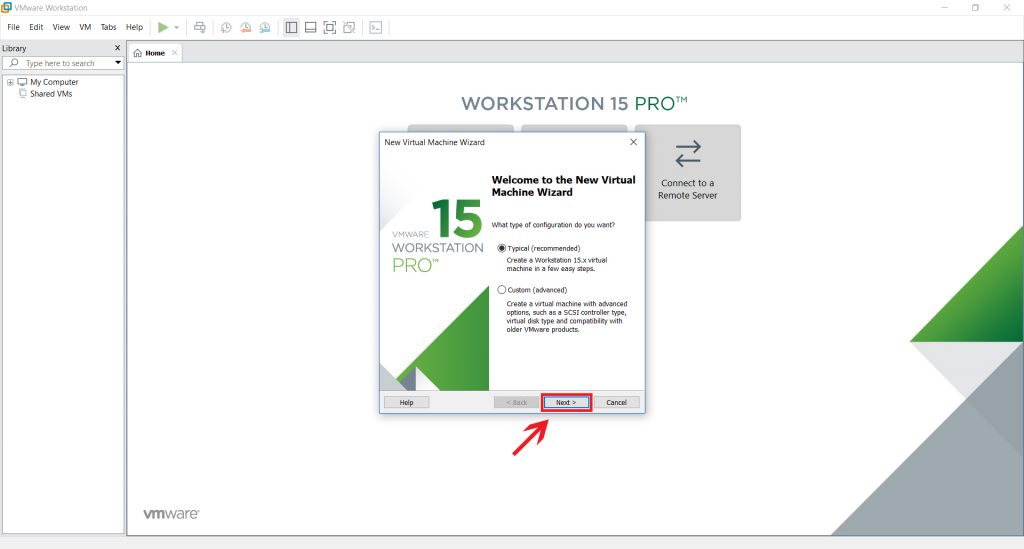
3. Leave it on Typical and click Next
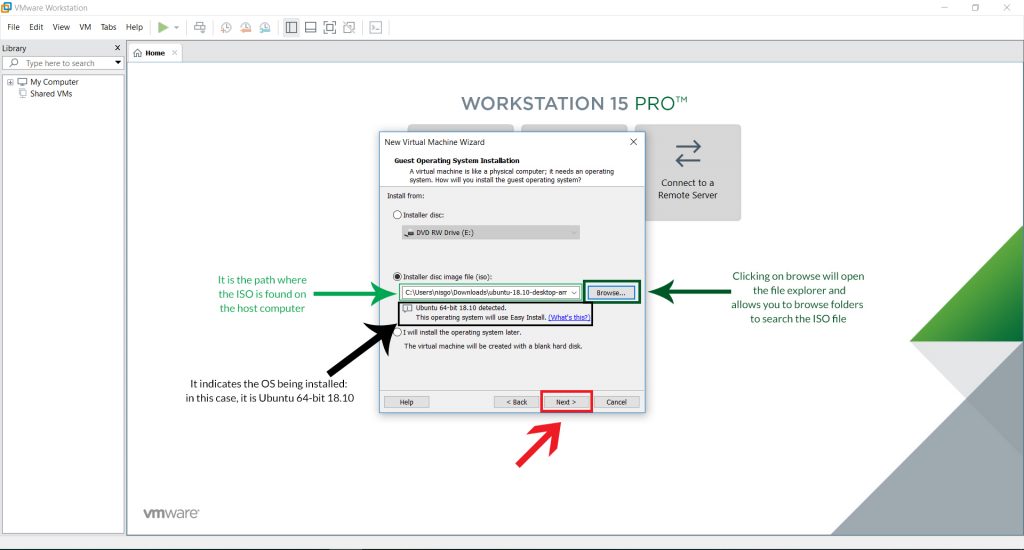
4. The next Picture is self-explanatory. Click on Next
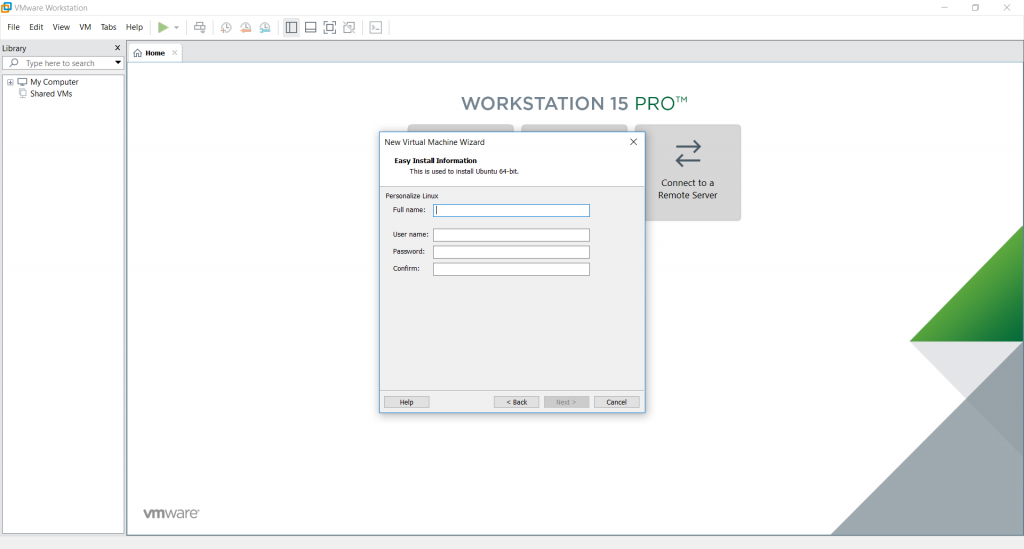
5. Fill the boxes. Username and password would be the one nedded to later login to access the system. Then proceed by clicking on Next
6. Click on Next

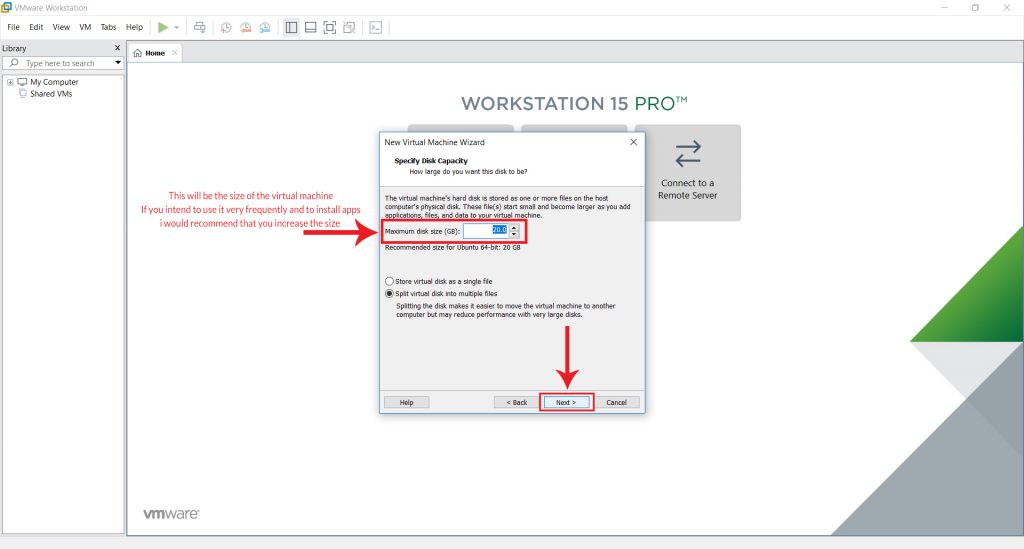
7. Now you will start to give the machine some hardware configurations
Note: If the machine take too long or does not boot, this is where you should start to modify specifications.
8. Click on Finish if you are satisfied with the specs,
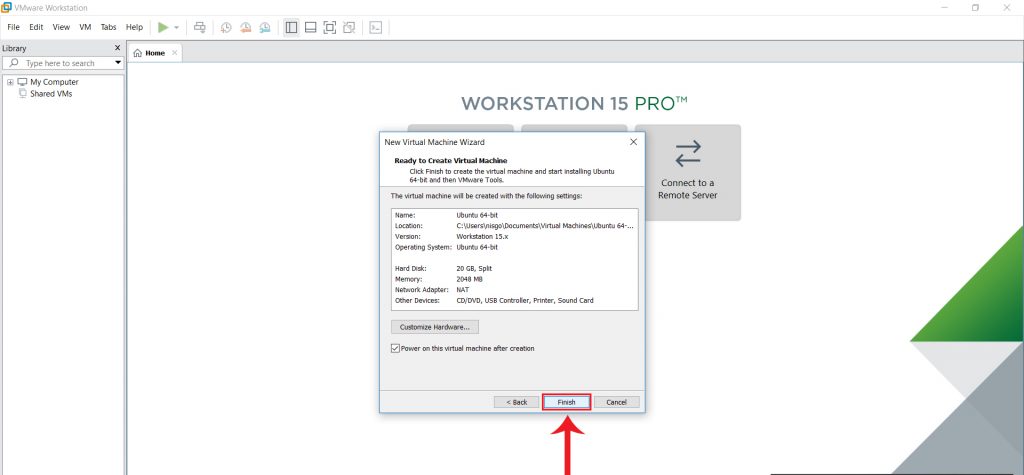
Else click on Customize Hardware.
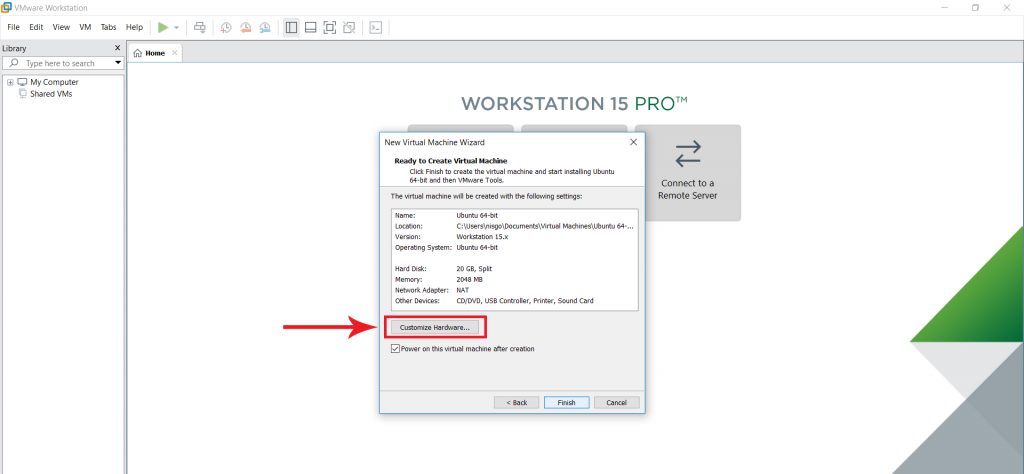
9. Now you can change the specs as much as you want.
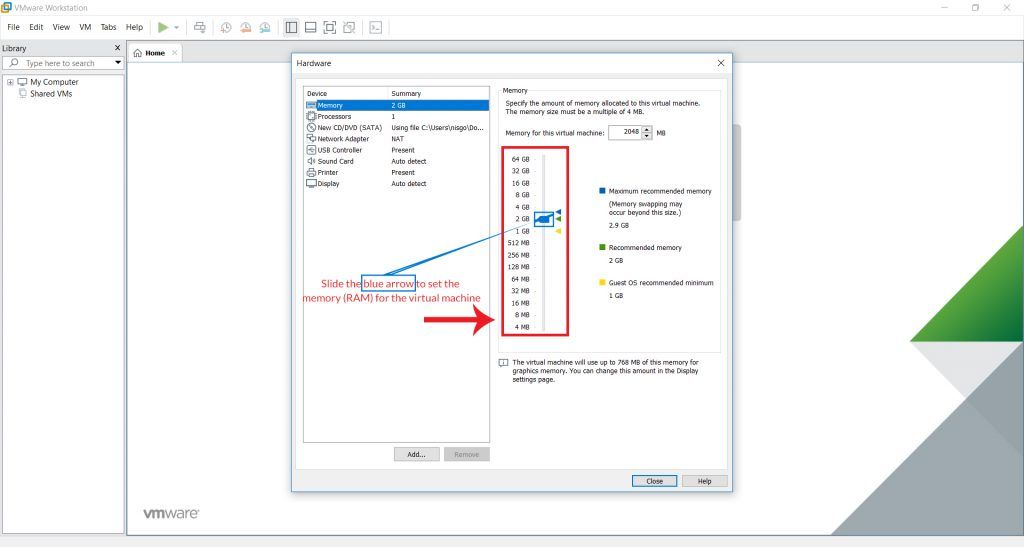
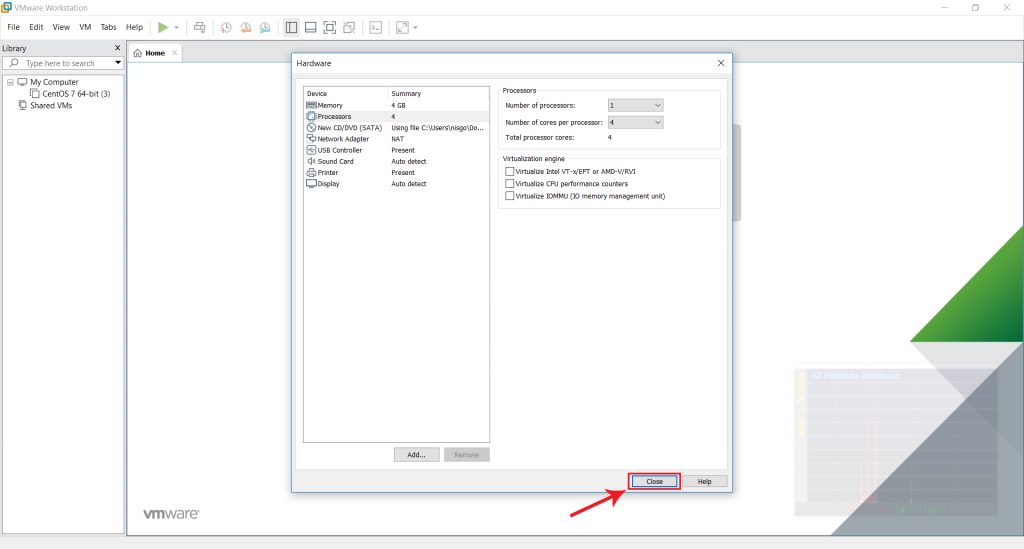
Click on Close when finished and the the screen below will pop up and click on "Finish".

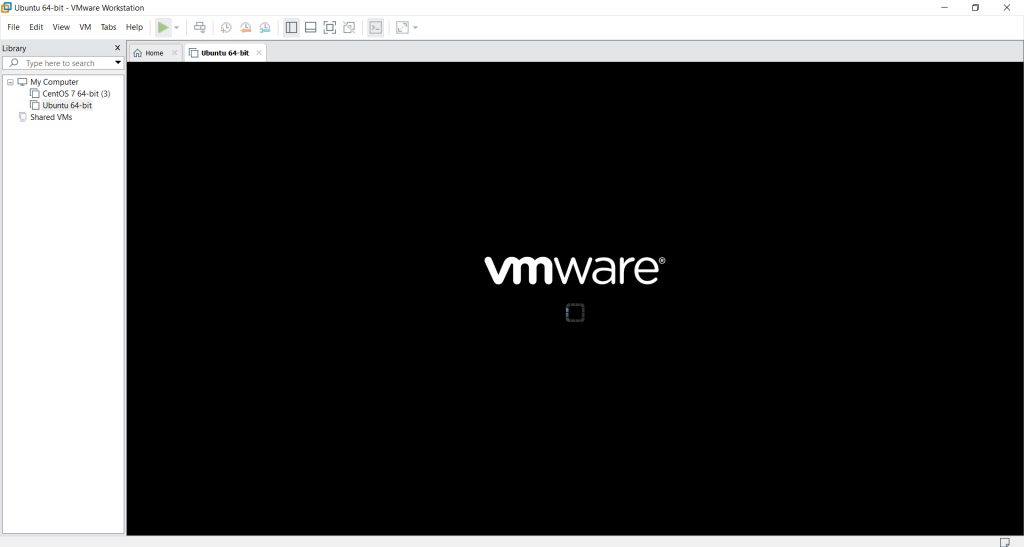
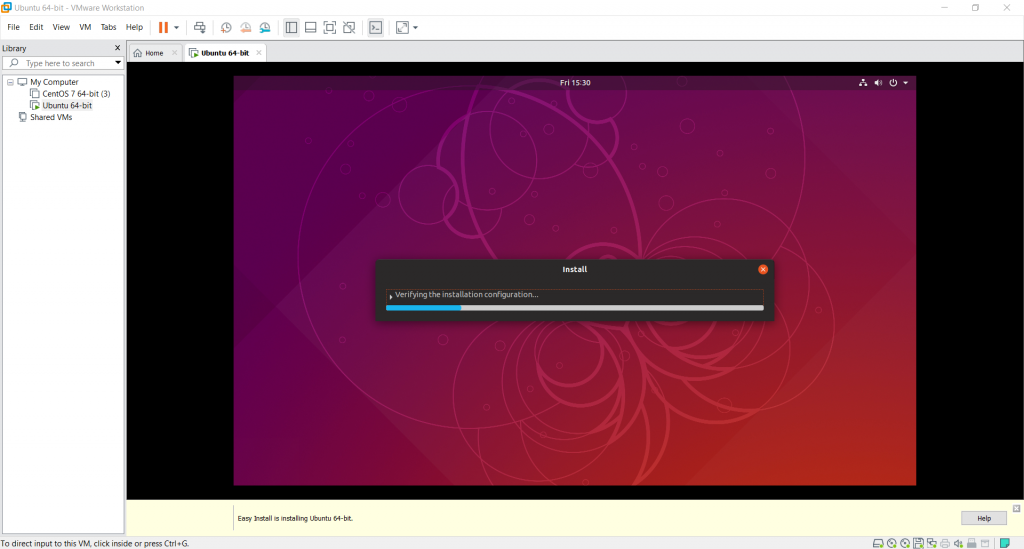
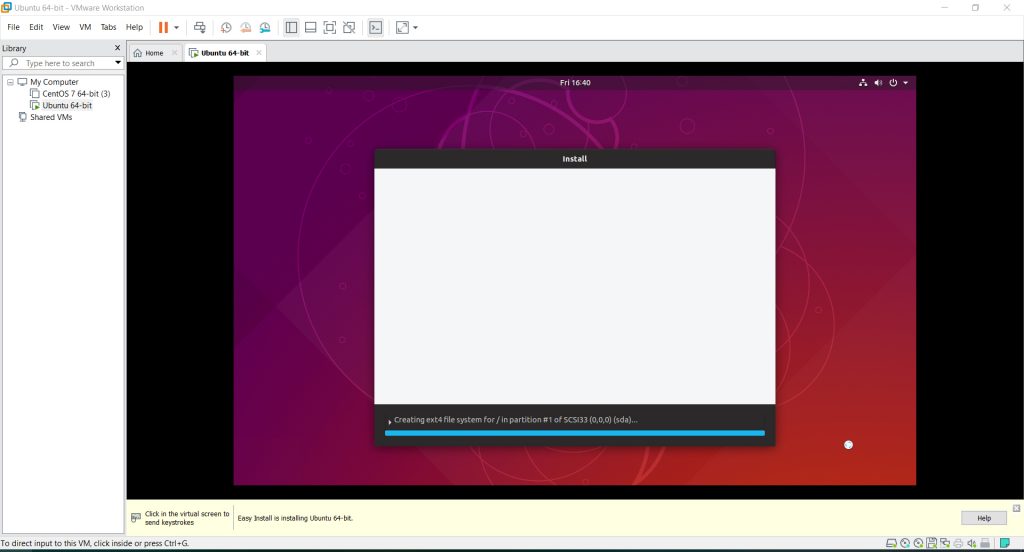
10. Booting and installation (These may be the different screens shown)
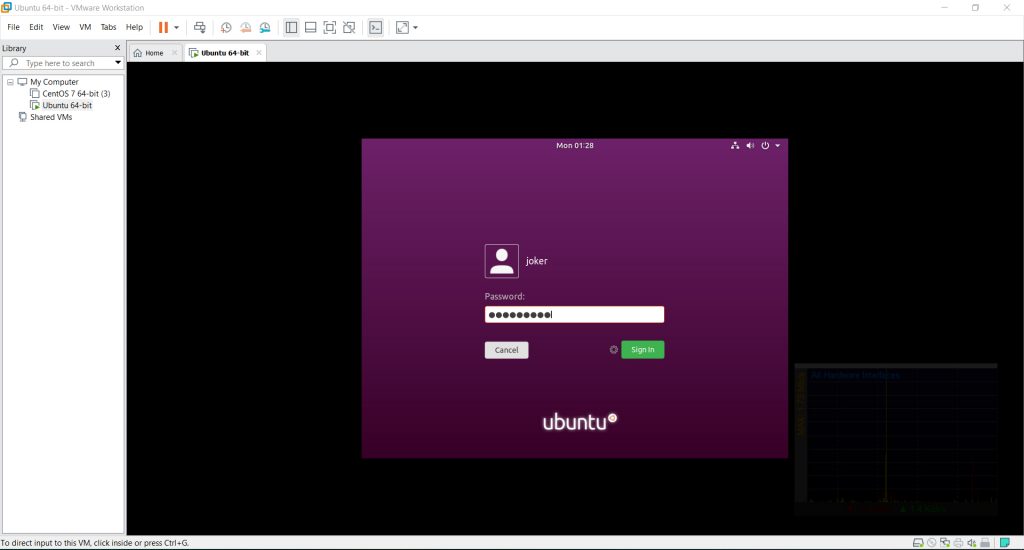
11. Login
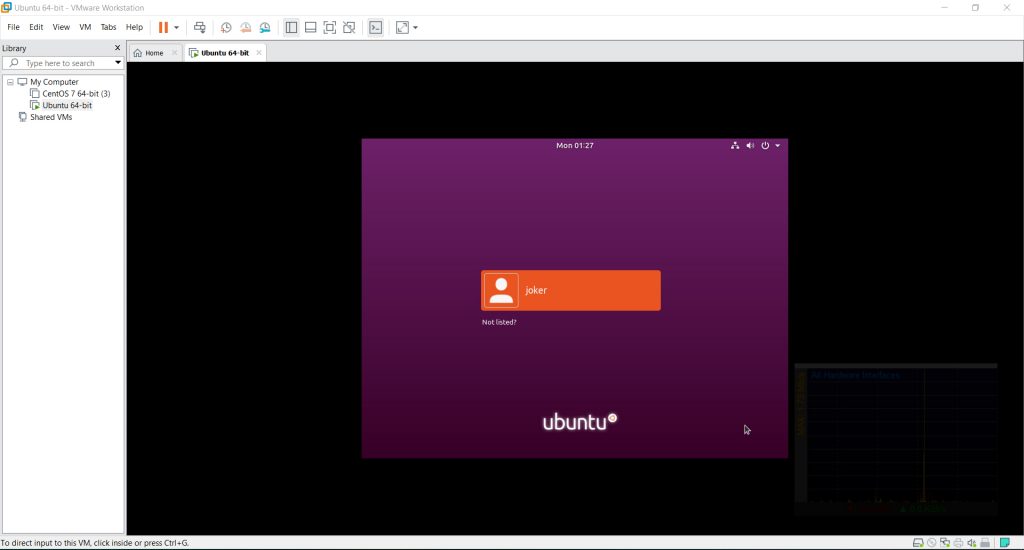
Click on username (mine's joker) and enter password
12.

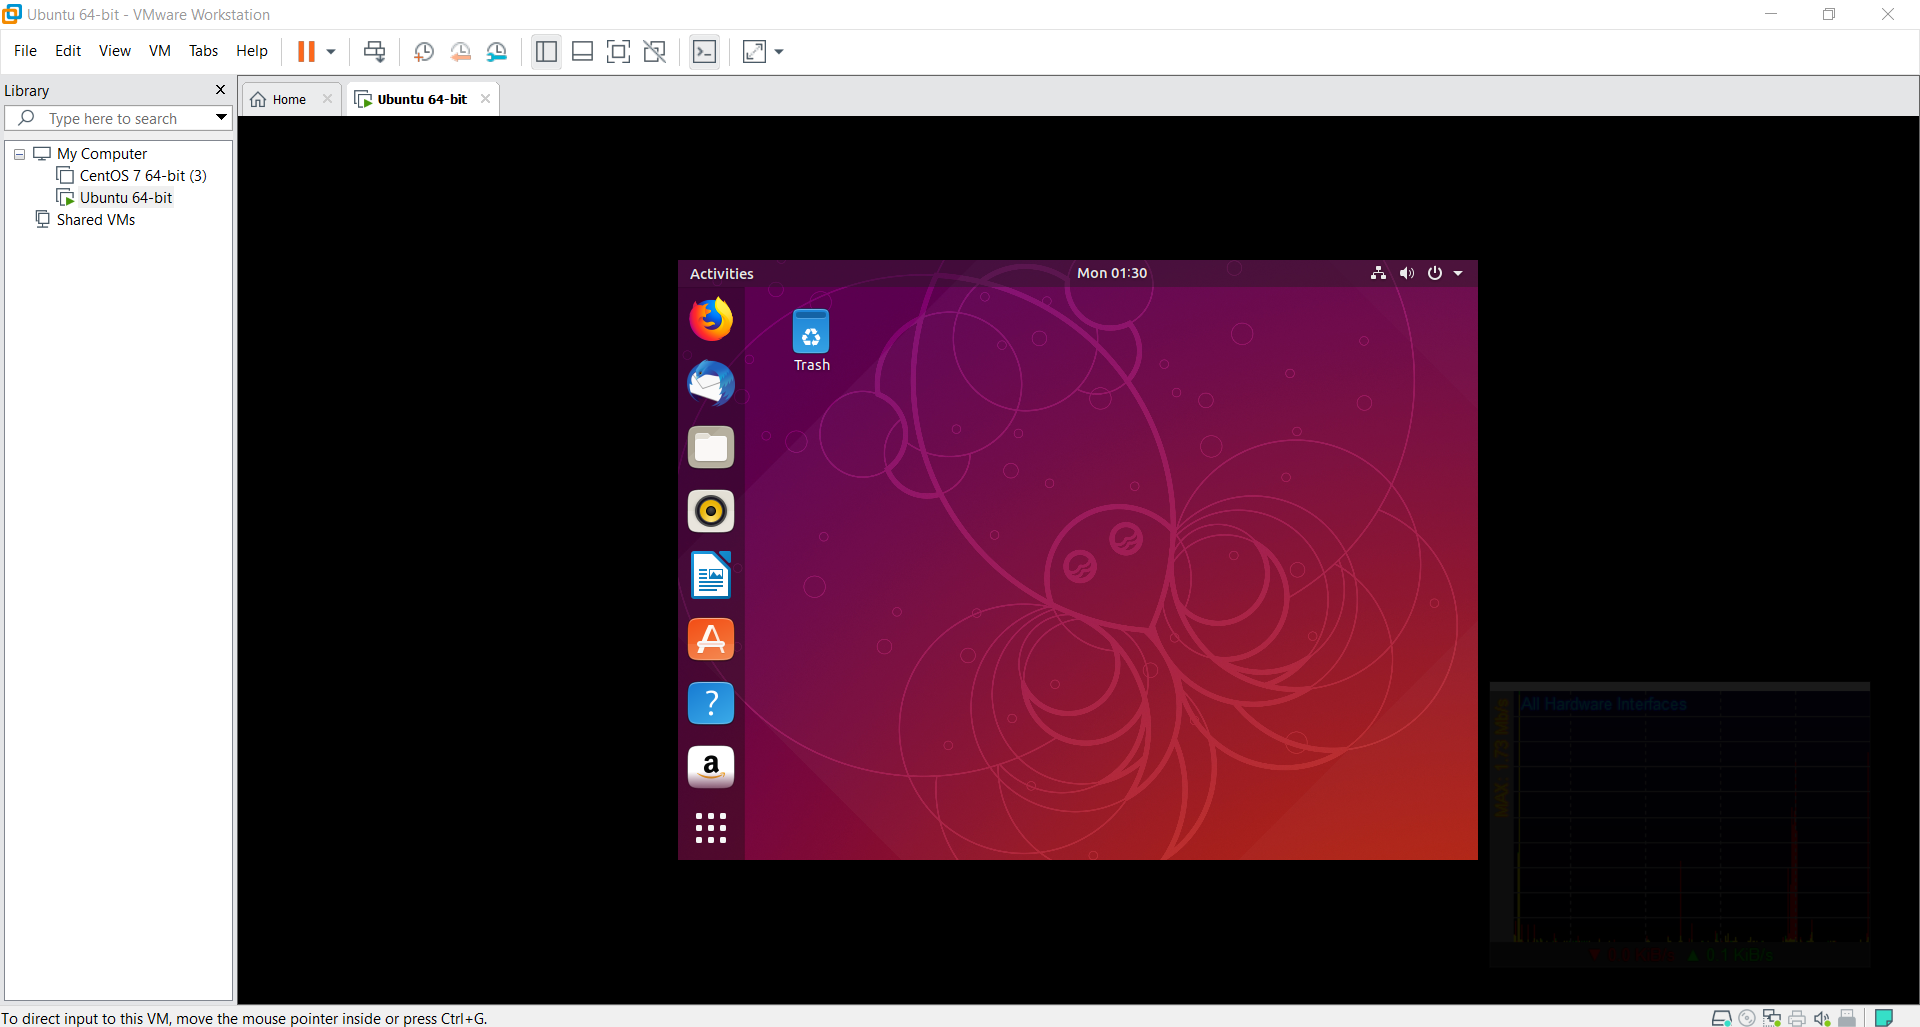
Congratulations! Ubuntu has been successfully installed on your VMware Worskstation.
13. Now, to ensure that all you packages are up-to-date, Press CTRL + ALT + T to open the terminal.
14. Type sudo su - followed by your login password.
This command gives root access to the user
15. Type sudo apt update -y && sudo apt upgrade -y
16. Since it is the first time performing the command, it may take some time. DO NOT CANCEL as it may break the packages as well as the install manager. I would recommend to wait until the upgrade is finished then using Ubuntu.